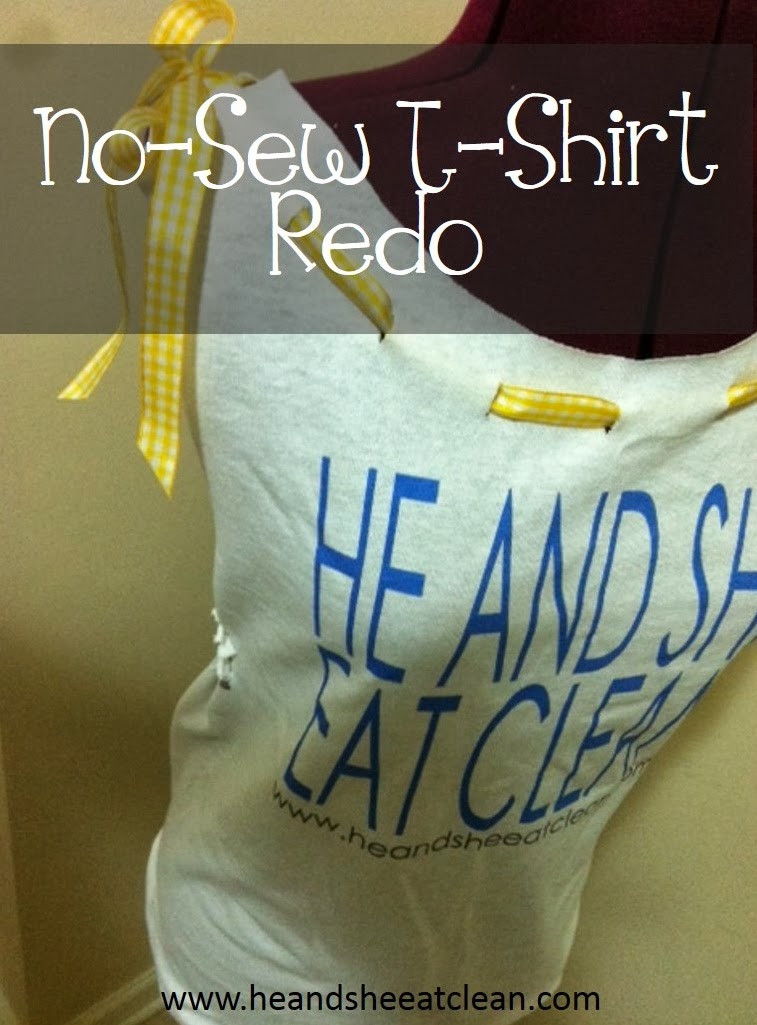
Each Wednesday, starting today (yay!) we are going to highlight some of our favorite ways to sweat in style!
For today, go in your closet and pull out a cotton t-shirt that isn't necessarily your favorite to wear - let's make it cute without a sewing machine! It's a stitchless, no-sew cotton t-shirt redo. You can do this on your own in about 20-30 minutes at home, although we do recommend having a friend with you so that you can try on, measure and have fun hacking up some shirts! Finally, a way to make those free t-shirts worth holding on to!
What you will need:
- T-Shirt - your size or slightly larger
- 1 yard of ribbon of your choice
- sharp scissors
- ruler
- safety pin
Optional:
- Fray Check (it protects the ribbons from fraying in the washing machine)

How to do it:
Step 1:
Try on your t-shirt to ensure the fit is okay. Note how it drapes at the sides (there is an optional step to make it more fitted) and how well the shoulders fit. This shirt is best made if the shoulders of your t-shirt are slightly larger than your shoulders.
Step 2:
Fold shirt in half lengthwise so that the arm holes line up.
Step 3:
Begin cutting approximately 3/4" below the bottom of the armhole seam and continue cutting around the seam.

Step 4:
Open the shirt and lay flat. Cut approximately 2 inches on each side to remove the neck and make the shirt an off-the-shoulder shirt.
Step 5:
Using a pencil, mark the center of the front of the shirt with a small up and down mark.
Step 6:
Begin marking 2" out on either side of the center mark across the front of the shirt.
Step 7:
At shoulder seam, mark on either side of the seam.

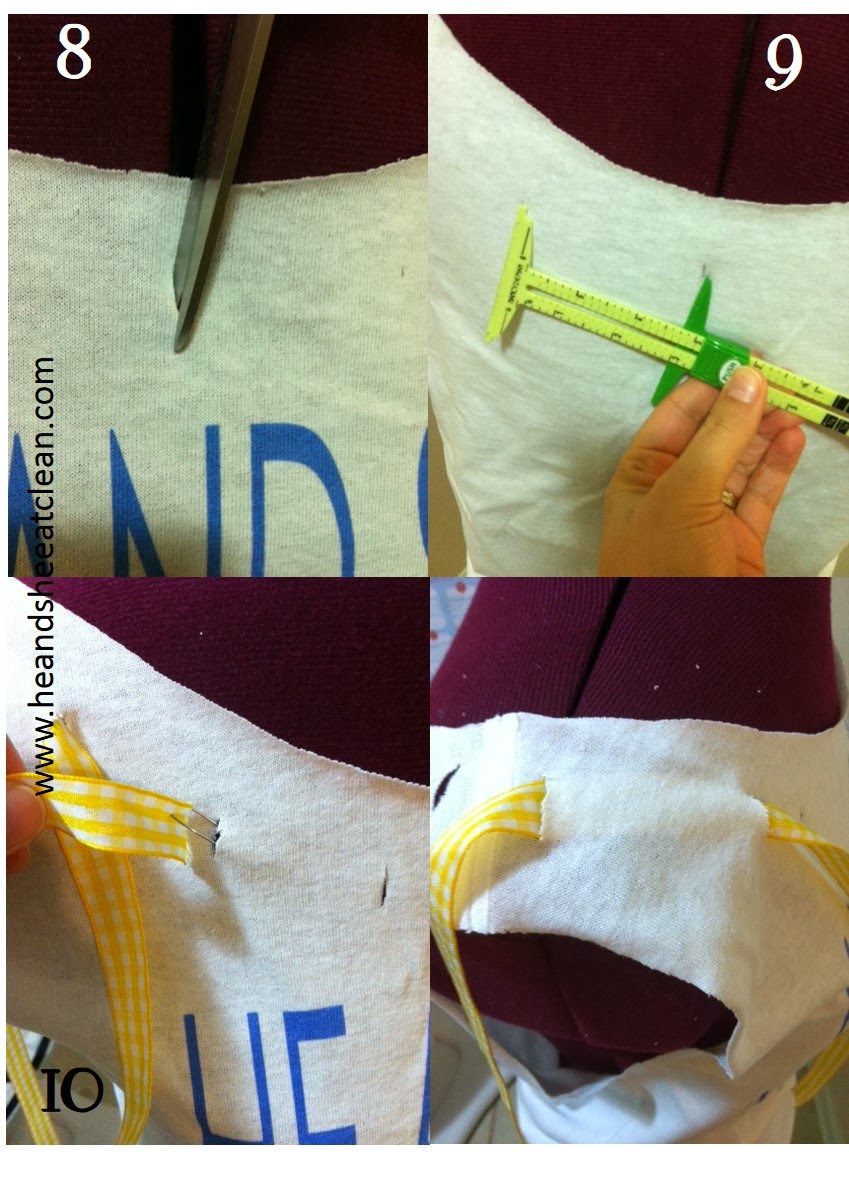
Step 8:
Pinch fabric and cut a hole proportionate to your ribbon on each marked notch along the front neckline of the shirt.
Step 9:
Mark and cut the back neckline of your shirt as you did for the front. Use 3" spacing.
Step 10:
Using the safety pin attached to the end of your ribbon, weave the ribbon in and out of the holes you created for the ribbon, starting on one side of a shoulder.
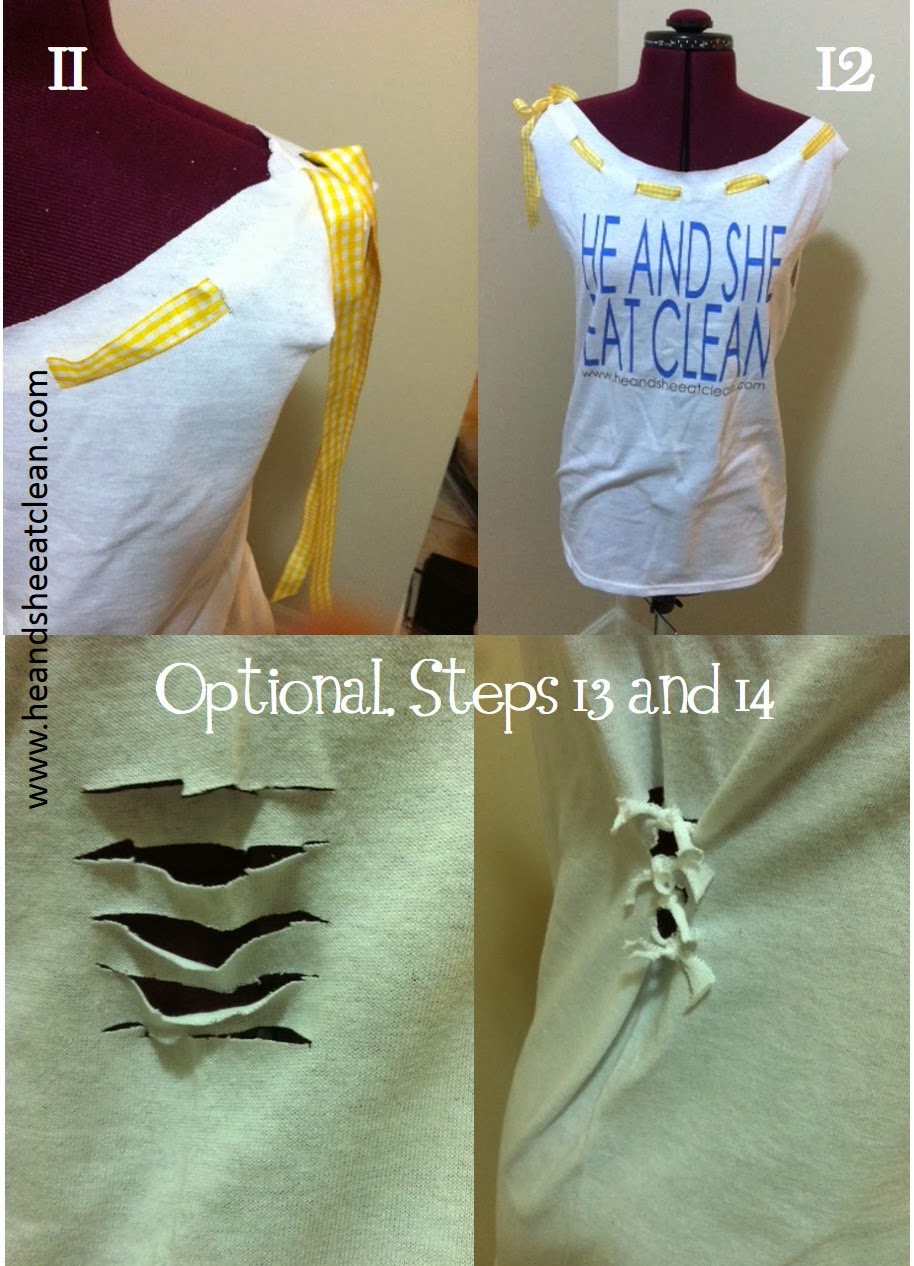
Step 11:
Complete the threading of the ribbon to meet at the beginning shoulder and tie in a bow.
Step 12:
Try your shirt on! It's done! Decide if you would like to do the optional steps below.
Optional:
Cinch in the waist of the t-shirt by adding 4 knots on each side.
Step 13:
Make 5 cuts on the side of the t-shirt to create 4 strings. Cut down the middle so that you can tie them together.
Step 14:
Tie and create a fitted waist.
Upload your creations to instagram and pinterest and tag us! (instagram: heandsheeatclean, pinterest: hesheeatclean)


![#ProgressIsPerfection [3 Simple Ideas to Reach Your Goals]](https://images.squarespace-cdn.com/content/v1/555c964fe4b07d15252a8927/1520969172984-7HDOHI6ZRM0PCZCZ7O67/progress-is-perfection-silk-he-and-she-eat-clean2.jpg)


