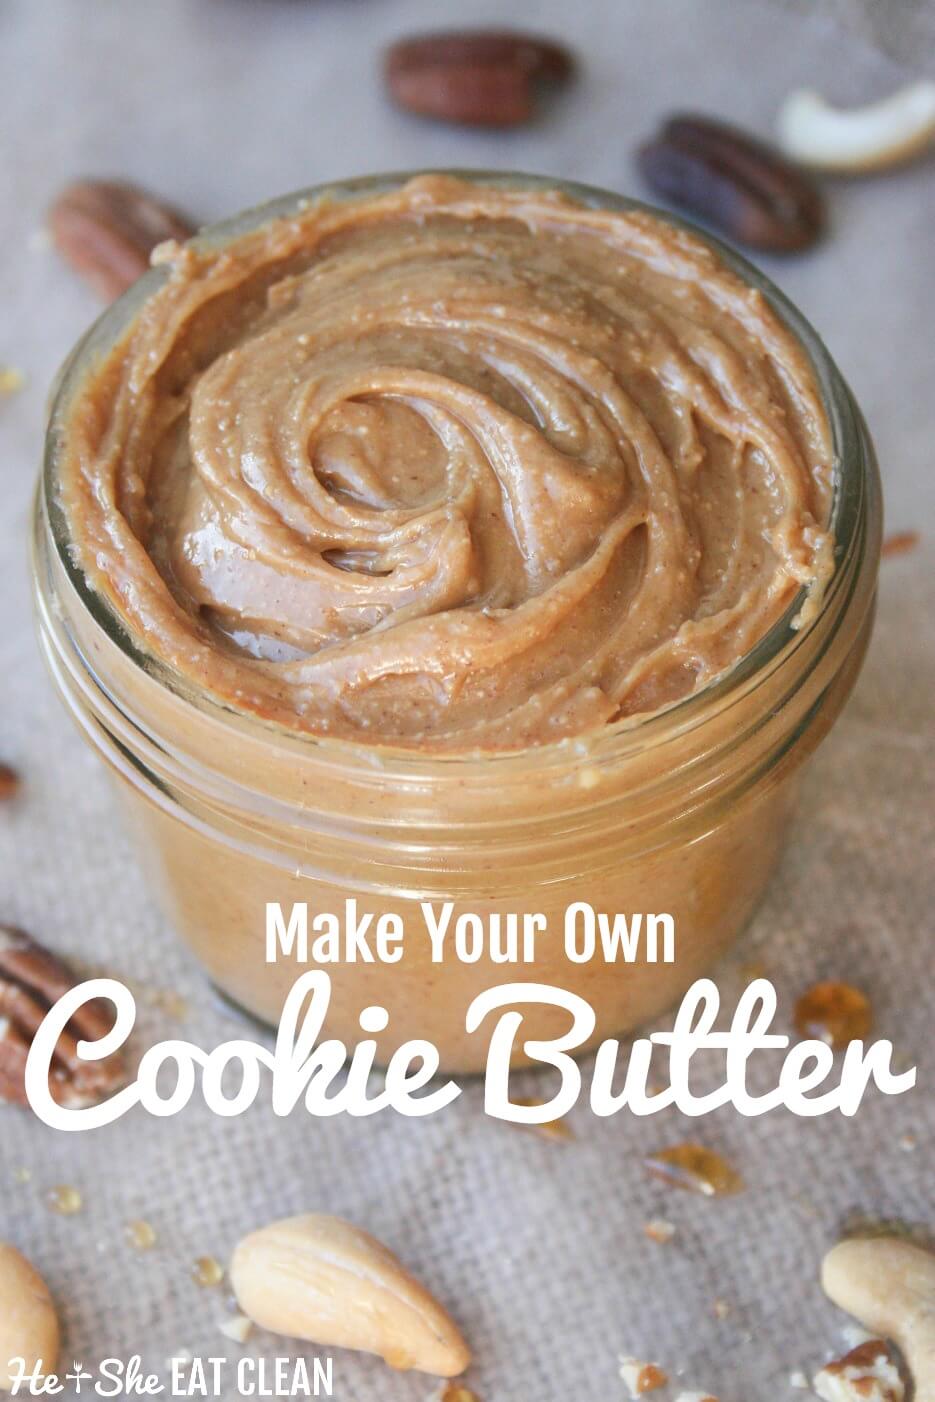
This is amazing. We've experimented with many different nut combinations in the Vitamix and this is - hands down - our favorite so far! It doesn't last long in our house and we can't make very much at one time or we will eat it all! :-) It tastes like cookie butter to me so if you haven't already, invest in a Vitamix (they are worth it - we make our juice in it too!), and start creating your own nut butters at home!
P.S. I'm not sure what I did to deserve this but I texted my friend Kenzie (of Hettman Homestead) that I hated the picture I took for this post. She dropped what she was doing and had her own photo shoot for my nut butter and then sent me the pics to use! How awesome is she?! That's why these pics are so good. ;-)
Oh, and we have a little secret, we just finished our newest eCookbook! The majority of the book is filled with flavorful oatmeal recipes, but we also included a handful our favorite casseroles! You will be getting brand new recipes, never posted before on the site plus our tried and true (reader favorites) like Apple Cinnamon Steel Cut Oats and Overnight Peaches and Cream Steel Cut Oats. Click here to learn more!
Clean Eat Recipe: Cookie Butter
Ingredients:
- 1.5 cups whole cashews (can be more or less, just ensure you have 3 cups total)
- 1.5 cups whole pecans (can be more or less, just ensure you have 3 cups total)
- 1 tsp sea salt
- 1 Tbsp pure maple syrup
- 1 Tbsp oil (we used an oil blend that contained red palm oil but other oils should work as well)
Directions:
1. Roast the nuts:
- Preheat oven to 350 degrees. Place nuts on baking sheet, careful not to overlap. Bake for 5 minutes. After 5 minutes, shake the nuts and bake for another 2-4 minutes, checking often to avoid burning. Note: these will burn easily so do not leave them unattended! After roasting the nuts let them completely cool.
2. After the nuts have cooled completely, add them the Vitamix
3. Using these directions (adapted from Blender Lady), process your nut butter:
- Turn your Vitamix on high. The nuts will turn into a powder (and fluff up a bit). As soon as the mix is not “fluffing up” anymore, and the powder is starting to fall into the middle (this only takes seconds) begin to use your tamper LIBERALLY. Push the tamper into each corner, going from corner to corner, over and over.
- In the beginning, keep the tamper in the corners and do not push down in the middle or the the motor can overheat.
- Slowly you will see the nut butter forming at the bottom of the container and working its way up. When there is very little or no powder left, but it still isn’t creamy smooth, try to plug up the air pocket by plunging the tamper down into the middle, and holding it down in there. IF you get it right, you will hear a sudden, low growl. If you keep the tamper all of the way down into the container, in the middle, and let it growl for about 5-10 seconds at the most, you should get a really creamy, smooth nut butter.
- This advice is exactly the opposite of what was stated earlier about keeping the tamper out of the middle, but it is something only done right at the end - after all of the powder is gone and only for about 10 seconds MAX in order to get the nut butter REALLY smooth and creamy. If you are concerned about the “low growl” sound, here is a helpful post to put your mind at ease.
4. Add oil, maple syrup, and sea salt and blend for a few more seconds.
5. Once your nut butter is finished you can taste test to see if anything else is needed to suit your taste buds. Store in an airtight container in the refrigerator.
We hope you love this as much as we do! We enjoy it on toast (using Ezekiel bread or Canyon Bakehouse), added to protein shakes/smoothies, or just straight out of the container!


![#ProgressIsPerfection [3 Simple Ideas to Reach Your Goals]](https://images.squarespace-cdn.com/content/v1/555c964fe4b07d15252a8927/1520969172984-7HDOHI6ZRM0PCZCZ7O67/progress-is-perfection-silk-he-and-she-eat-clean2.jpg)


